react 코드를 AWS(Lightsail) 에서 배포해보자
1. 리액트 프로젝트 생성 및 리액트 build 모드로 실행
2. 파일질라 FTP 를 이용해서 로컬 프론트엔드 build 코드를 AWS 서버에 업로드(배포)
3. AWS Lightsail 에 있는 nginx 웹 서버와 build 연결
4. AWS 보안 세팅
------------------------------------------------------------------------------
1. 리액트 프로젝트 생성 및 리액트 build 모드로 실행
@ 리액트 프로젝트 생성
로컬 터미널) cd desktop
npx create-react-app reacttest
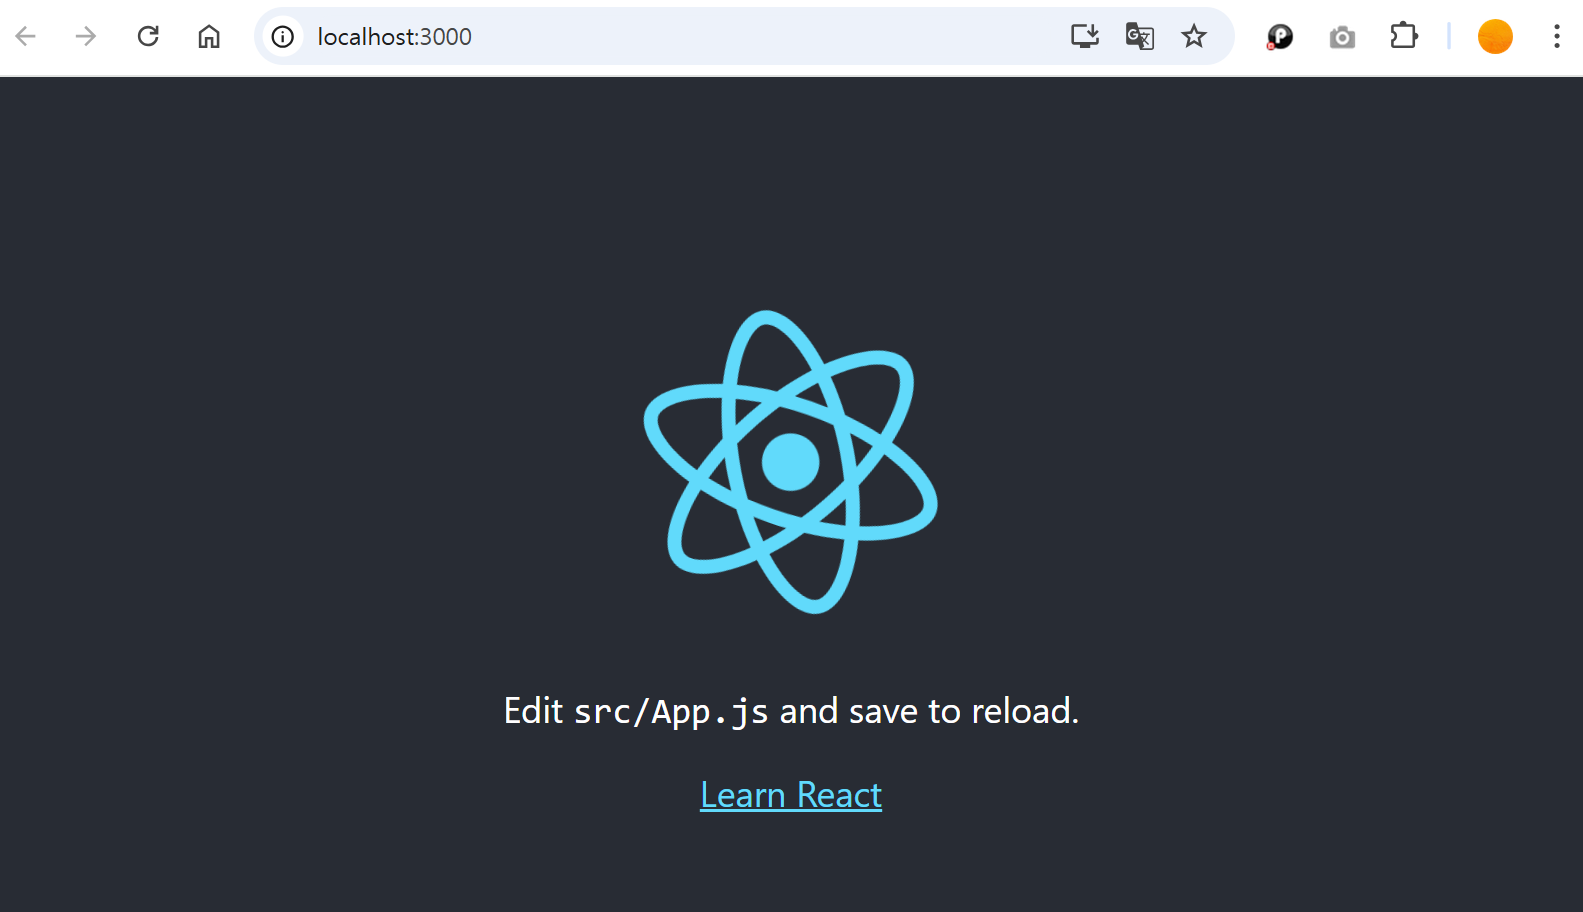
@ 리액트 dev 모드로 실행
로컬 터미널) cd reacttest
npm start # dev 모드로 react 열기
ctrl + c로 종료
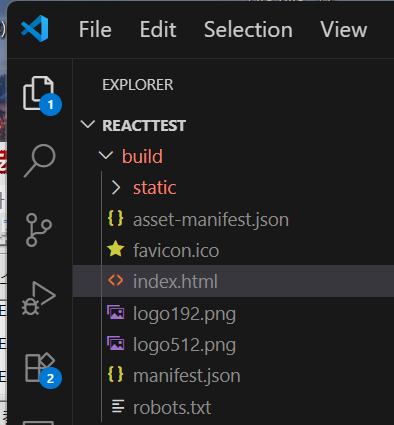
@ 리액트 build 모드로 실행
로컬 터미널) cd reacttest
npm run build
-> build>static 폴더가 생성됨
이제 build 폴더를 배포하면 됨.
-----------------------------------------------------------------------------------------------
2. 파일질라 FTP 를 이용해서 로컬 프론트엔드 build 코드를 AWS 서버에 업로드(배포)
@ 파일질라 설치
@ 파일질라 실행
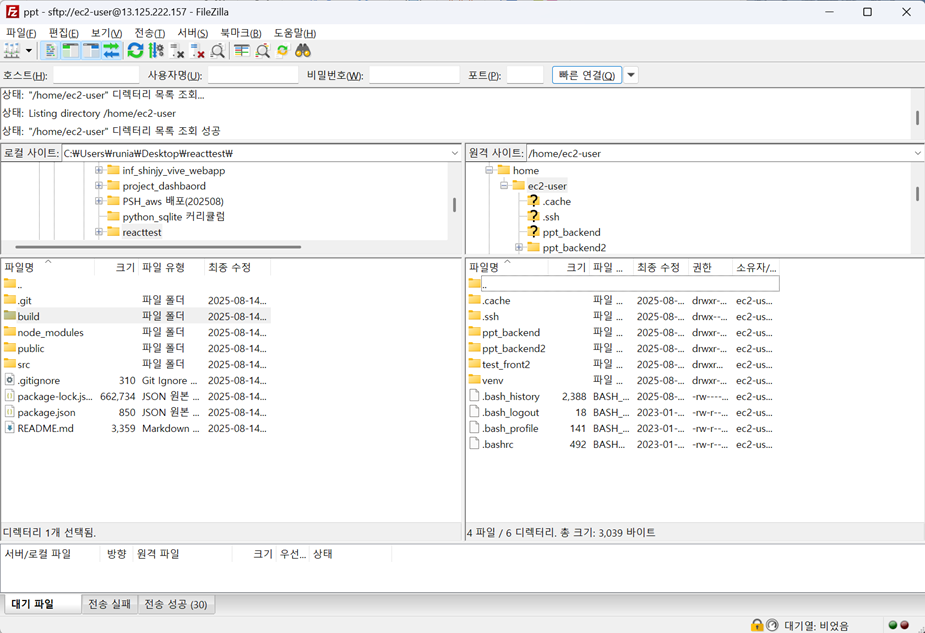
@ 파일질라 AWS Lightsail 서버 연결
- 사이트 관리자 열기
- "새 사이트" 클릭 -> 사이트 이름(ex. ppt) 입력
- 프로토콜 : SFTP
- 호스트 : AWS Lightsail IP4 주소(ex 13.125.222.157)
- 키 파일 : (찾아보기) DeployProject/.pem 키 위치

# 비밀번호 저장 -> 확인
@ 파일질라 (오른쪽) aws 원격 사이트에 디렉토리 만들기 -> test_front2 폴더 생성
reacttest 폴더에서 build 폴더를 test_front2 폴더로 드래그&드랍

-> AWS Lightsail에 프론트엔드 build 파일 배포 완료
-----------------------------------------------------------------------------------------
3. AWS Lightsail 에 있는 nginx 웹서버와 build 파일 연결하기
@ 다음 코드를 aws 서버의 /etc/nginx/nginx.conf 파일에 추가해야 함.
server {
listen 8080;
listen [::]:8080;
server_name _;
root /home/ec2-user/test-front2/build;
index index.html index.htm index.nginx-debian.html;
location = /favicon.ico { access_log off; log_not_found off; }
location / {
try_files $uri /index.html;
}
}
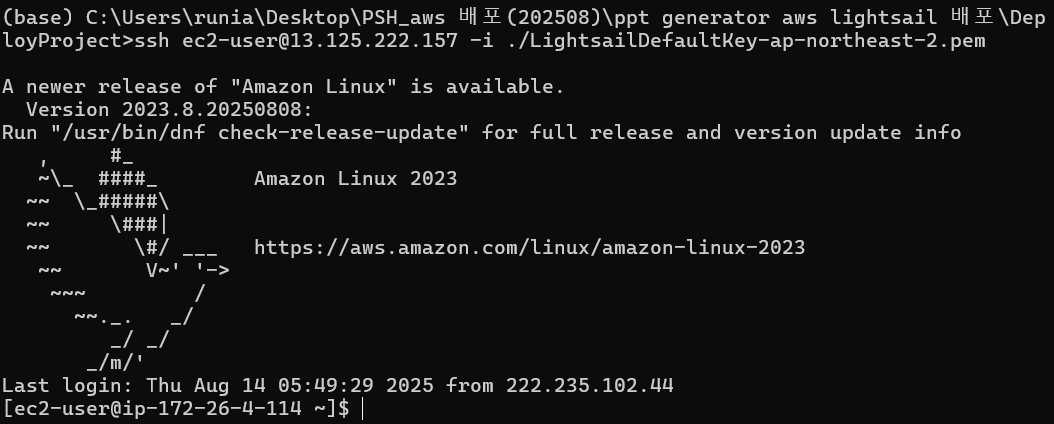
@ AWS 서버 접속
로컬 터미널) cd DeployProject
로컬 터미널) ssh ec2-user@13.125.222.157 -i ./LightsailDefaultKey-ap-northeast-2.pem
-> aws 서버 접속
@ nginx.conf 파일 수정 : (리눅스 터미널) sudo vim /etc/nginx/nginx.conf
(참고) .nginx.conf.swp 파일을 지워야 하는 경우 : sudo rm /etc/nginx/.nginx.conf.swp
i(insert) ->
"server{ listen 8080; " 코드 붙여넣기 # 8080 포트로 들어오면,
root 경로 수정 : /home/ec2-user/test_front2/build; # static한 build 폴더와 연결하라

user 수정 : ec2-user; # permission 문제 해결

vim 빠져나오기) esc -> :x
@ nginx 재시작 : sudo systemctl restart nginx
----------------------------------------------------------------------------------------------------------
4. AWS 보안 세팅
@ AWS Lightsail -> Networking
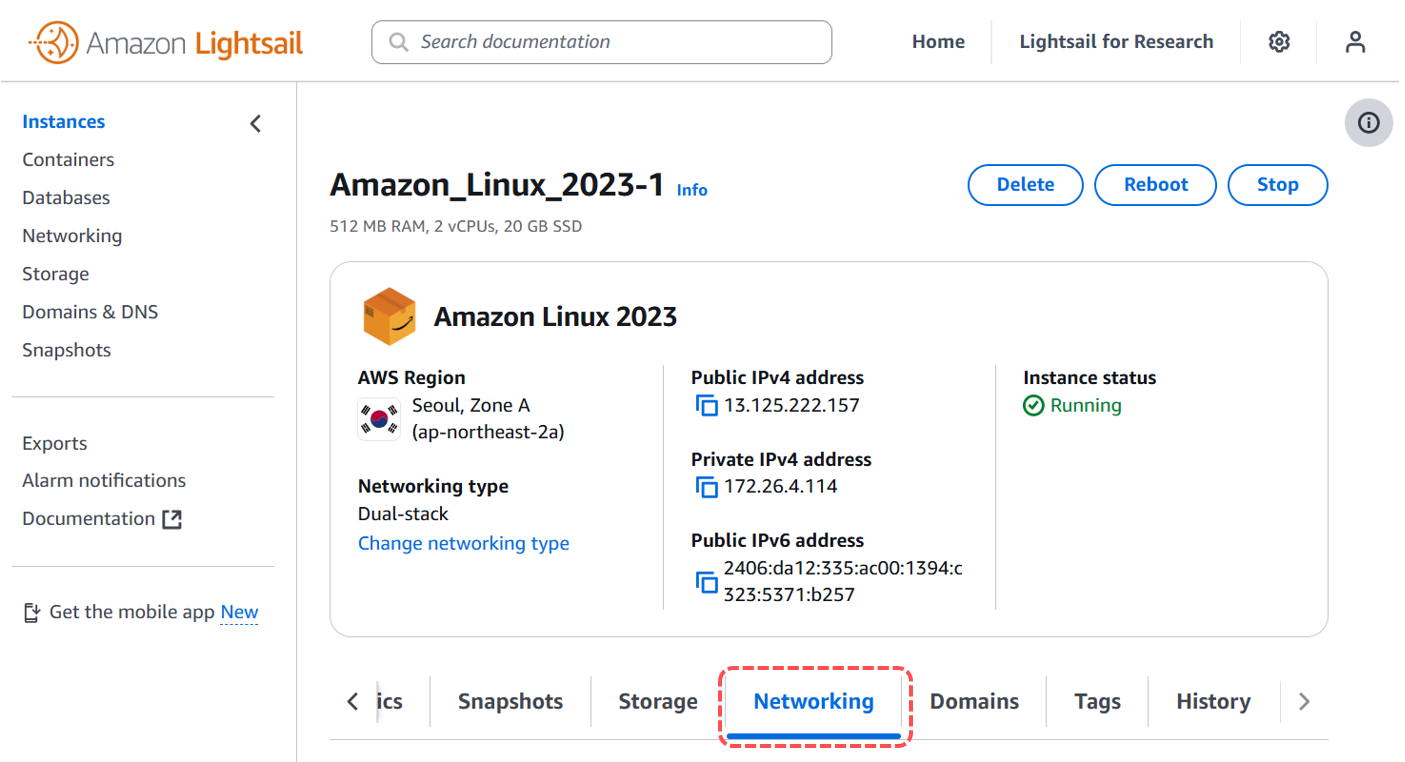
IPv4 : Add rule -> 8080 -> create

@ http://13.125.222.157:8080/ -> 접속하면 다음 화면이 뜸

(END) react 프론트엔드 코드 AWS Lightsail 배포 완료!
'AWS' 카테고리의 다른 글
| [AWS 배포-5] aive 홈페이지 html 파일 aws lightsail 배포 및 도메인 연결 (1) | 2025.09.04 |
|---|---|
| [AWS 배포-4] 4. 깃허브 액션(AWS 자동 배포) + https 인증서 발급받기 (2) | 2025.08.28 |
| [AWS 배포-3] 3. 바이브코딩 ppt 생성기 AWS Lightsail 배포하기 (2) | 2025.08.20 |
| [AWS 배포-1] 1. pptgen 백엔드 코드 깃허브 올리고 aws lightsail 배포까지 (3) | 2025.08.08 |
| AWS 서비스 종료(AWS Service termination) (0) | 2020.06.25 |