@ 개발 환경 : 윈도우, 로컬 터미널(아나콘다 프롬프트)
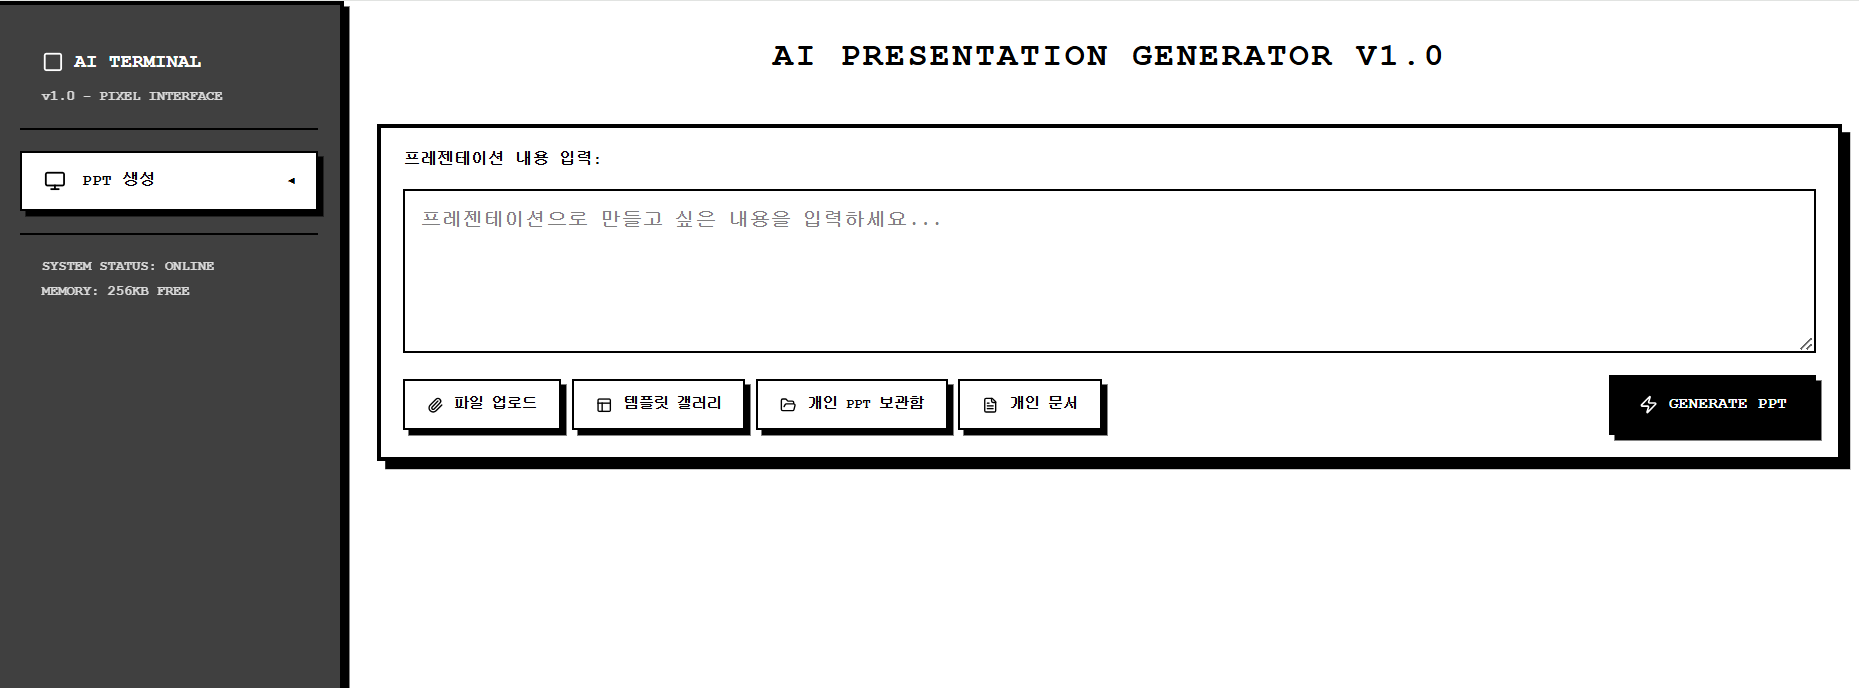
PPT GENERATOR 코드를 AWS(Lightsail) 에서 배포해보자
<목차>
1. <코드 폴더 준비>
# 백엔드 : ppt_fastapi 코드 (requiements.txt 확인)
# 프론트엔드 : nextjs 코드
2. <깃허브에 코드(백엔드) 등록 with Fork>
3. aws 백엔드 배포
- <aws lightsail instance 생성 및 nginx로 웹 서버 실행 >
- <리눅스 서버에 백엔드 설정 후 fastapi 코드 실행>
<코드 폴더 준비>
# 백엔드 fastapi 코드 (airo_ppt_fastapi-main)
- requiements.txt 확인
# 프론트엔드 nextjs 코드(nextjs)
<깃허브에 코드(백엔드) 등록 with Fork>
@ Fork (github 노코드로 관리)
Fork 설치
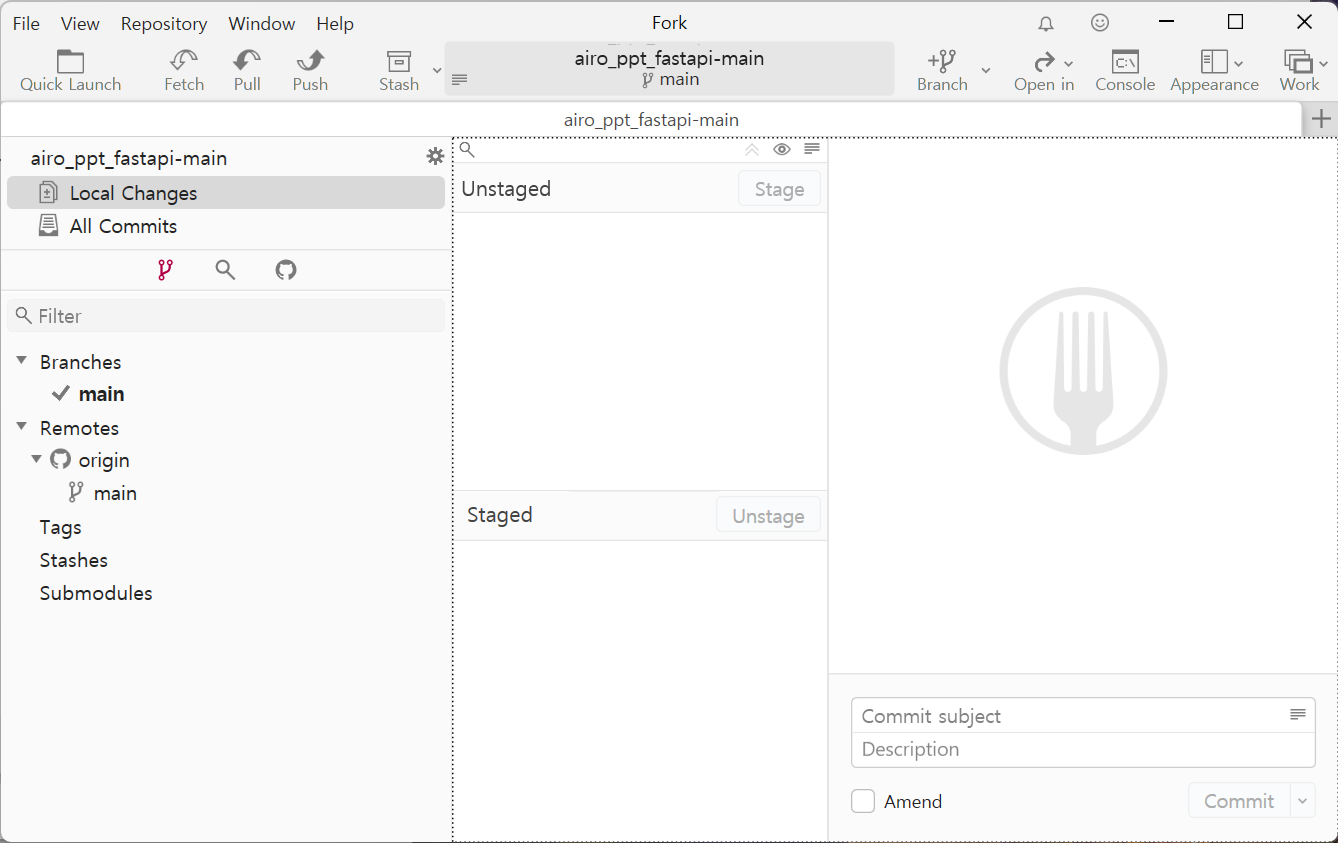
@ Fork로 깃허브 레포지토리에 백엔드 코드 업로드
# Fork - 깃허브 연동: (File -> Accounts -> 깃허브 연동 "donghwan2")
# Fork에 백엔드 디렉토리 선택 : File -> Open Repository -> 폴더 선택(airo_ppt_fastapi-main) -> git init 효과
# Branches/master -> 화살표 아래 2개짜리 누르고 commit "init commit" -> git add . -> git commit -m "first upload"
# Fork -> branches "master" 우클릭 rename -> "main"으로 이름 변경
# 깃허브에서 repository 생성 : ppt_backend -> create repository (https://github.com/donghwan2/ppt_backend.git)
# Fork -> remotes 우클릭 -> add new remote -> https://github.com/donghwan2/ppt_backend.git -> add new remote
# origin 클릭 후 -> fetch 버튼 클릭
# origin -> main 우클릭 -> pull 'origin/main' into 'main'
# push (git push origin main 효과) # 파일 업로드 완료
------------------------------------------ aws 백엔드 배포 시작 --------------------------------------------
<aws lightsail instance 생성 및 nginx로 웹 서버 실행 >
@ 콘솔에 로그인 -> root user 로그인
리젼 : 서울
@ Lightsail instance 생성
검색 : lightsail -> create instance 클릭
os only -> Amazon Linux 2023(2023.8.20250804.0) / 5$ (20GB SSD)
create instance 클릭 -> Lightsail instance 생성 완료 ( Public IPv4 address : 13.125.222.157 )
SSH key -> Download default key (pem 키 다운로드) -> DeployProject 폴더에 pem 키 저장. -> lightsail instance 생성 완
@ 로컬 터미널(anaconda prompt)에서 aws lightsail 서버에 접속 후 nginx로 웹 서버 실행
로컬 터미널) cd DeployProject
로컬 터미널) ssh ec2-user@13.125.222.157 -i ./LightsailDefaultKey-ap-northeast-2.pem -> lightsail 리눅스 서버에 접속
nginx 설치 : 리눅스 터미널) sudo yum install nginx
nginx 실행 : 리눅스 터미널) sudo systemctl start nginx (*systemctl :작업관리자)
-> 13.125.222.157 접속해보면 정상적으로 웹서버가 실행된 상태

@ nginx config 파일 확인. (vim은 메모장)
리눅스 터미널) sudo vim /etc/nginx/nginx.conf
* 현재 Lightsail의 Nginx는 HTTP 80번 포트에서 모든 IP/도메인 요청을 받도록 설정되어 있습니다.
* /usr/share/nginx/html/ 안에 있는 HTML 파일이 기본적으로 서비스됩니다.
-> http://<Lightsail 퍼블릭 IP> (http://13.125.222.157:80)로 접속 시 /usr/share/nginx/html/index.html이 뜰 거예요.
-----------------------------------------------------------------------------------------
<리눅스 서버에 백엔드 설정 후 fastapi 코드 실행>
@ 깃 설치 : 리눅스 터미널) sudo yum install git
@ 인증키(오픈키) 확인해보기 (로컬 pem_비공개키_랑 매칭이 되면 인증이 된다)
cd ~/.ssh
ls
cat authorized_keys
@ AWS 리눅스 서버 인증키 생성하기 (aws 서버에서 깃허브와 통신할 때 사용할 SSH 키를 생성)
ssh-keygen -t rsa -C runiarang@gmail.com
(Enter file in which to save the key (/home/ec2-user/.ssh/id_rsa): Enter로 넘기기)
(Enter passphrase : Enter로 넘기기)
cat id_rsa
cat id_rsa.pub
@ 깃허브에 AWS 서버 public key 등록하기
깃허브 -> 우측 상단 프로필 아이콘 -> settings
SSH and GPG keys -> New SSH Key 클릭
key 인풋창에 id_rsa.pub 내용 복사해서 붙여넣기 -> Add SSH Key 버튼 클릭
@ 리눅스 서버 홈 디렉토리에 ppt_backend 코드 git clone하기
깃허브 레포지토리 ssh 주소 복사 git@github.com:donghwan2/ppt_backend.git
cd ~
git clone git@github.com:donghwan2/ppt_backend.git
ls
-> ppt_backend 폴더가 보임 (AWS 리눅스 서버에 ppt_backend 코드 폴더 다운로드 완료)
@ 파이썬 가상환경 만들기
리눅스) cd ppt_backend_be
python3 -m venv venv
source ./venv/bin/activate
pip install -r requirements.txt
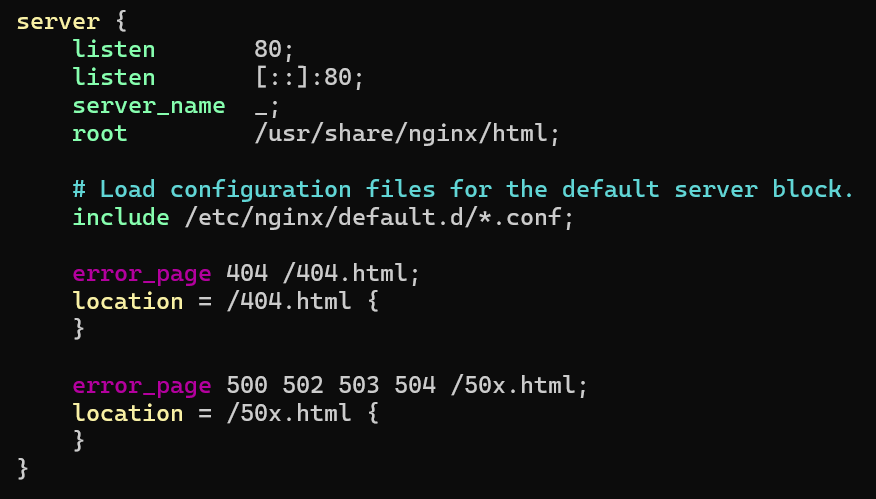
@ nginx.conf에서 server 관련 코드 수정하기(lightsail 80 port로 들어오면 로컬 8000번 포트로 넘기도록 수정 예정)
# vim으로 nginx.conf 파일 열기: sudo vim /etc/nginx/nginx.conf
# 기존의 server 관련 코드들 삭제(dd)
# i(insert) 모드로 바꾼 후에 아래 코드를 붙여넣기 (esc 누르면(커맨드 모드) -> :x 누르면 vim 종료)
server {
listen 80;
listen [::]:80;
server_name _;
location / {
proxy_pass http://127.0.0.1:8000;
proxy_http_version 1.1;
proxy_set_header Upgrade $http_upgrade;
proxy_set_header Connection keep-alive;
proxy_set_header Host $host;
proxy_cache_bypass $http_upgrade;
proxy_set_header X-Real-IP $remote_addr;
proxy_set_header X-Forwarded-For $proxy_add_x_forwarded_for;
proxy_set_header X-Forwarded-Proto $scheme;
}
error_page 404 /404.html;
location = /404.html {
}
error_page 500 502 503 504 /50x.html;
location = /50x.html {
}
}
# 맨 위에 user는 ec2-user 로 수정하기
user ec2-user;
@ nginx 재시작
sudo systemctl restart nginx
-> 백엔드 배포
aws lightsail ip 주소(http:// http://13.125.222.157/) http 80 port로 접속하면 nginx가 fastapi (port 8000)으로 접속
---------------------------------------------------------------------
@ 백단에서 fastapi 서버 실행
리눅스) nohup uvicorn main:app --host 0.0.0.0 --port 8000 > server.log 2>&1 &
@ 실행중인 프로세스 확인
ps aux | grep '[u]vicorn' # 실행 중인 uvicorn 프로세스만 보여줍니다 -> fastapi 프로세스 ID 확인(EX. 29170)
@ 백단에서 실행된 uvicorn 끄기
kill -9 29170 # 프로세스 끄기
# 과거 명령어 확인 : history
---------------------------------------------- 백엔드 배포 끝 ----------------------------------------------
'AWS' 카테고리의 다른 글
| [AWS 배포-5] aive 홈페이지 html 파일 aws lightsail 배포 및 도메인 연결 (1) | 2025.09.04 |
|---|---|
| [AWS 배포-4] 4. 깃허브 액션(AWS 자동 배포) + https 인증서 발급받기 (2) | 2025.08.28 |
| [AWS 배포-3] 3. 바이브코딩 ppt 생성기 AWS Lightsail 배포하기 (2) | 2025.08.20 |
| [AWS 배포-2] 2. react 프론트엔드 코드 AWS Lightsail 배포 (0) | 2025.08.14 |
| AWS 서비스 종료(AWS Service termination) (0) | 2020.06.25 |